You can polish marble floors at home using marble polishing powder and a buffing machine or by hand with polishing compound. The process involves cleaning, applying polish, buffing, and sealing. Light scratches and dullness respond well to home polishing, but deep damage needs professional help.
Ready to make your marble floors shine like new? Here’s how to do it safely without expensive professional services.
What You’ll Need
Marble polishing powder or compound designed specifically for natural stone. Never use regular floor polish or wax on marble surfaces.
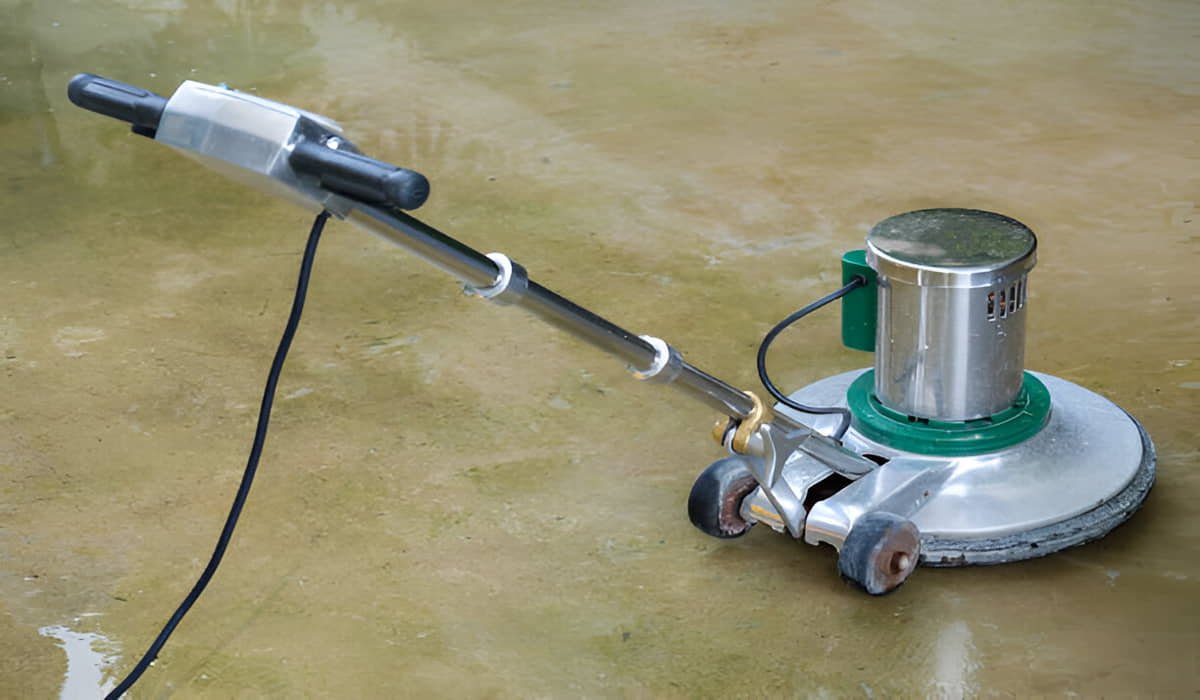
A floor buffer or orbital sander with soft pads. You can rent these machines from hardware stores for about $30-50 per day.
Microfiber cloths, soft brushes, and pH-neutral marble cleaner. Regular household cleaners can damage marble permanently.
Step 1: Clean Thoroughly First
Remove all furniture, rugs, and decorative items from the room. You need complete access to every inch of marble flooring.
Sweep and vacuum to remove all dirt, dust, and debris. Even tiny particles can scratch marble during the polishing process.
Mop with pH-neutral marble cleaner and let the floor dry completely. Wet marble won’t accept polish properly.
Step 2: Check for Damage
Look for scratches, stains, or etched areas that need extra attention. Light damage can be fixed with polishing, but deep gouges need professional repair.
Test polish in a small, hidden area first. This ensures the product won’t discolor or damage your specific marble type.
Mark any areas with stubborn stains or heavy scratching. These spots will need extra work during the polishing process.
Step 3: Apply Marble Polish
Sprinkle polishing powder lightly across a small section of floor. Work in 4×4 foot areas to maintain control and quality.
Add a few drops of water if using powder to create a paste consistency. Too much water dilutes the polish and reduces effectiveness.
Spread the polish evenly with a damp cloth before machine buffing begins. This prevents streaking and ensures uniform coverage.
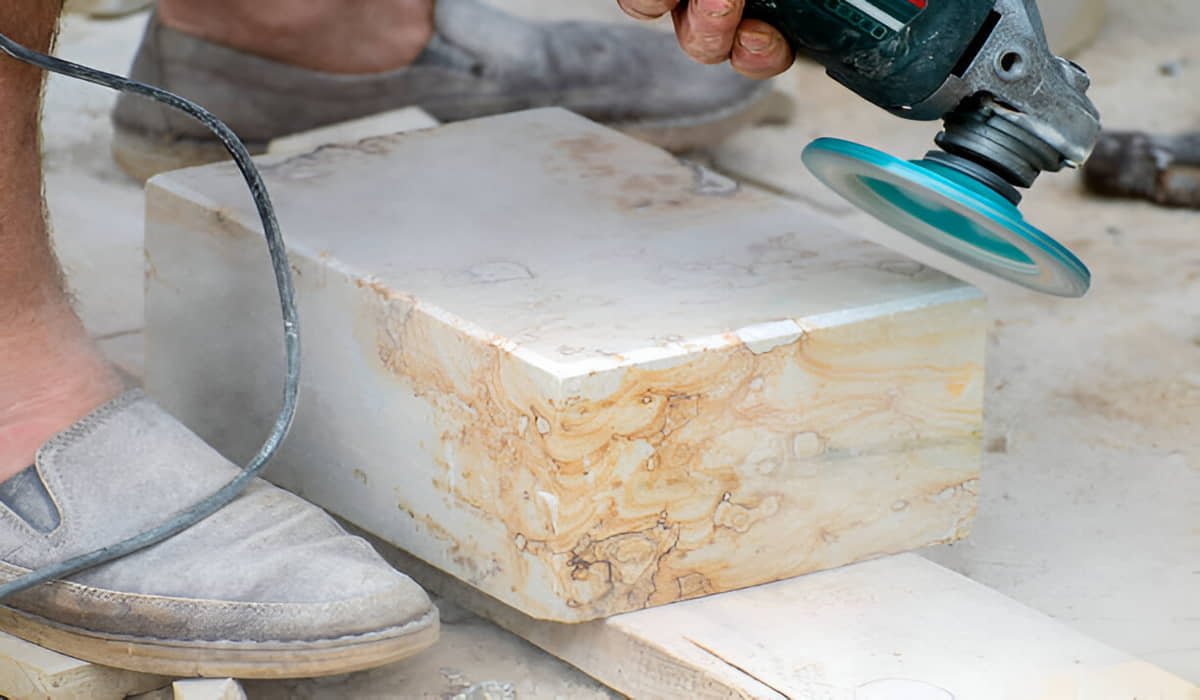
Step 4: Machine Buffing Process
Set your buffer to low speed initially to avoid scratching. High speeds can damage marble if you’re not experienced with the equipment.
Move the machine slowly in overlapping circles. Don’t stay in one spot too long or you might create uneven polishing.
Keep the machine moving constantly to prevent heat buildup. Excessive heat can crack or discolor marble surfaces.
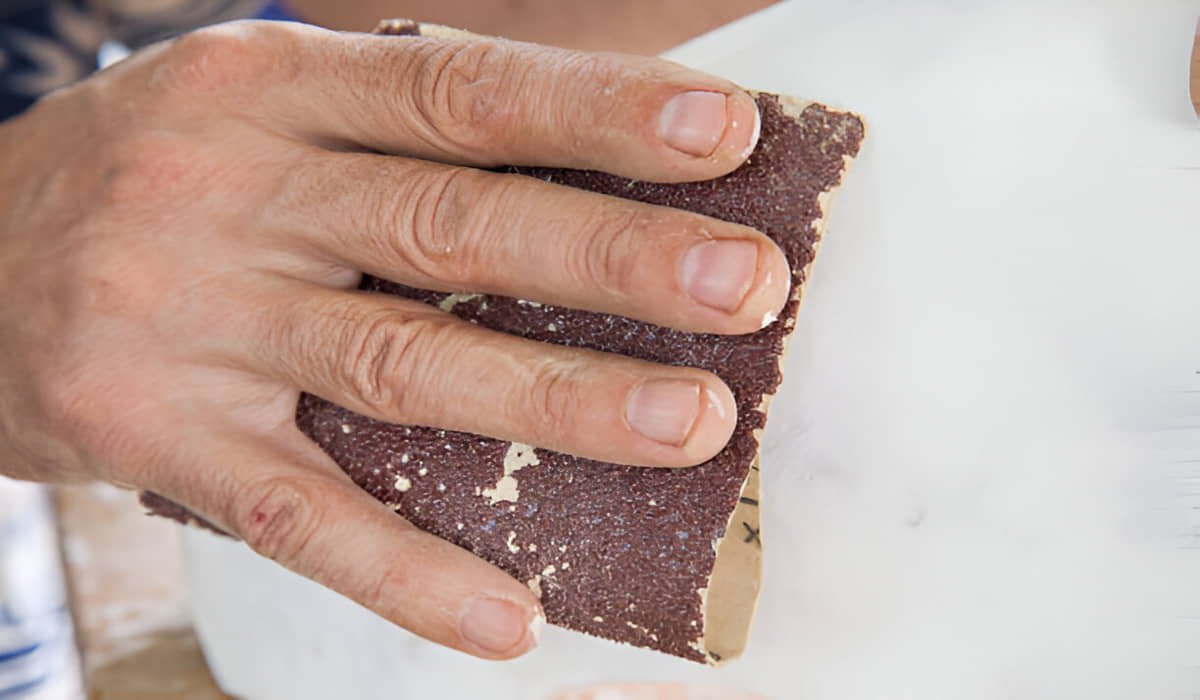
Step 5: Hand Polishing Method
If you don’t have a machine, hand polishing works but requires more time and effort. Use circular motions with moderate pressure.
Work polish into scratches and dull areas thoroughly. Hand polishing gives you better control over problem spots.
Change cloths frequently as they become loaded with marble dust and polish residue. Clean cloths work much better.
Step 6: Remove Residue
Wipe away all polish residue with clean, damp microfiber cloths. Any leftover powder will dry white and look streaky.
Rinse cloths frequently in clean water during the cleanup process. Dirty cloths just spread residue around instead of removing it.
Check corners and edges carefully where residue loves to hide. These areas are easy to miss but very noticeable when dirty.
Step 7: Final Buffing
Give the entire floor a final buff with clean, dry cloths. This brings out the maximum shine and removes any remaining haze.
Work systematically across the room to ensure even treatment. Missing spots will be obvious once the floor is complete.
Use circular motions followed by straight strokes for the best final appearance. This technique minimizes streaking and maximizes shine.
When to Stop and Call Professionals
Deep scratches that catch your fingernail won’t respond to home polishing. These need professional marble grinding and refinishing services.
Extensive etching from acids covers more area than home methods can handle effectively. Professional equipment works much faster.
If your first attempt doesn’t show improvement, stop immediately. Continued polishing might make damage worse instead of better.
Safety Tips
Wear knee pads when hand polishing to protect your joints. This work is hard on knees and back muscles.
Ensure good ventilation while polishing. Some products create dust or fumes that shouldn’t be inhaled in enclosed spaces.
Take frequent breaks to avoid fatigue. Tired workers make mistakes that can damage expensive marble flooring permanently.
Realistic Time Expectations
Small rooms like bathrooms take 2-4 hours including prep and cleanup time. Don’t rush the process for best results.
Average living rooms need 6-8 hours of work spread over a weekend. Large areas are exhausting to polish by hand.
Drying time between steps adds several hours to the total project time. Plan accordingly and don’t schedule other activities.
Cost Comparison
DIY polishing costs $50-150 for supplies and equipment rental. This beats professional services that charge $3-8 per square foot.
However, mistakes can cost hundreds to repair professionally. Consider the risk versus savings before starting the project.
Your time and effort have value too. Professional work eliminates physical labor and guarantees better results.
Maintenance After Polishing
Clean up spills immediately to protect your newly polished floor. Acids and oils can damage the surface within minutes.
Use only pH-neutral cleaners designed for marble. Regular household cleaners will dull the polish you just created.
Consider professional sealing after polishing to protect your hard work. Sealed marble stays beautiful much longer.
Tools You Can Rent
Floor buffers with soft pads work best for marble polishing. Avoid aggressive pads designed for concrete or terrazzo.
Wet/dry vacuums help with cleanup and dust control during polishing. This keeps your work area cleaner and safer.
Professional-grade polishing compounds from rental stores often work better than retail products. Ask about upgraded materials.
Common Mistakes to Avoid
Never use vinegar, lemon juice, or acidic cleaners before polishing. These create etching that polishing can’t fix.
Don’t skip the thorough cleaning step. Polishing over dirt just grinds particles into marble and creates more scratches.
Avoid working in direct sunlight or extreme temperatures. These conditions affect polish application and drying times.
Home marble polishing can restore beauty to dull floors when done carefully and patiently. While it requires time and effort, the satisfaction of bringing back that gorgeous shine yourself is worth it.
Remember that not all damage responds to DIY treatment, knowing when to call professionals saves time and prevents costly mistakes. Take your time, follow safety guidelines, and enjoy your beautiful, newly polished marble floors.