Polish marble countertops using marble polishing compound, soft cloths, and gentle circular motions. Clean thoroughly first, apply polish to small sections, buff by hand or with orbital tools, then seal for protection. Light scratches and dullness improve dramatically with proper home polishing techniques.
Your marble countertops can look brand new again with the right approach and patience. Here’s how to restore their shine safely.
What You’ll Need
Marble polishing compound specifically made for natural stone. Regular car wax or furniture polish will damage marble permanently.
Soft microfiber cloths, rubber gloves, and pH-neutral marble cleaner. You’ll need plenty of clean cloths for best results.
Optional orbital sander with soft polishing pads makes the job easier. Hand polishing works too but takes much more time.
Step 1: Clear and Clean Everything
Remove all items from countertops including appliances, decorative objects, and anything else sitting on the surface.
Clean thoroughly with pH-neutral marble cleaner to remove grease, soap residue, and daily grime. Let the surface dry completely.
Check for stains or damage that needs special attention. Mark problem areas with tape so you don’t miss them.
Step 2: Test in Hidden Area
Apply a small amount of polishing compound in an inconspicuous corner or under cabinet overhang area first.
Work it in gently and check results after buffing. This ensures the product won’t discolor your specific marble type.
Wait 10 minutes to see if any color changes occur before proceeding with the entire countertop surface.
Step 3: Apply Polish to Small Sections
Work in 2-foot square sections to maintain control and quality. Large areas become difficult to manage effectively.
Squeeze a quarter-sized amount of compound onto the marble surface. A little goes a long way with quality products.
Spread evenly with your fingers or soft cloth before beginning the buffing process. This prevents streaking and waste.
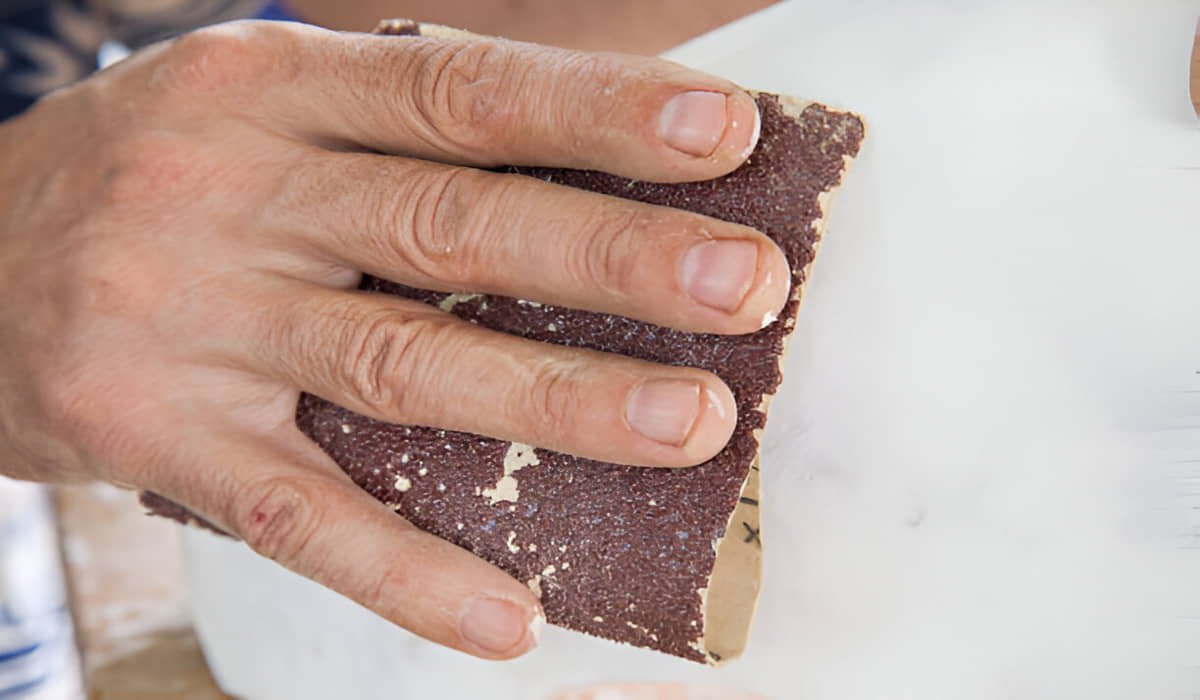
Step 4: Hand Polishing Technique
Use circular motions with moderate pressure to work the compound into marble pores and scratches. Don’t press too hard.
Overlap your circles slightly to ensure complete coverage. Missing spots will show up as dull patches later.
Continue buffing each section for 3-5 minutes until you see improvement in shine and scratch reduction.
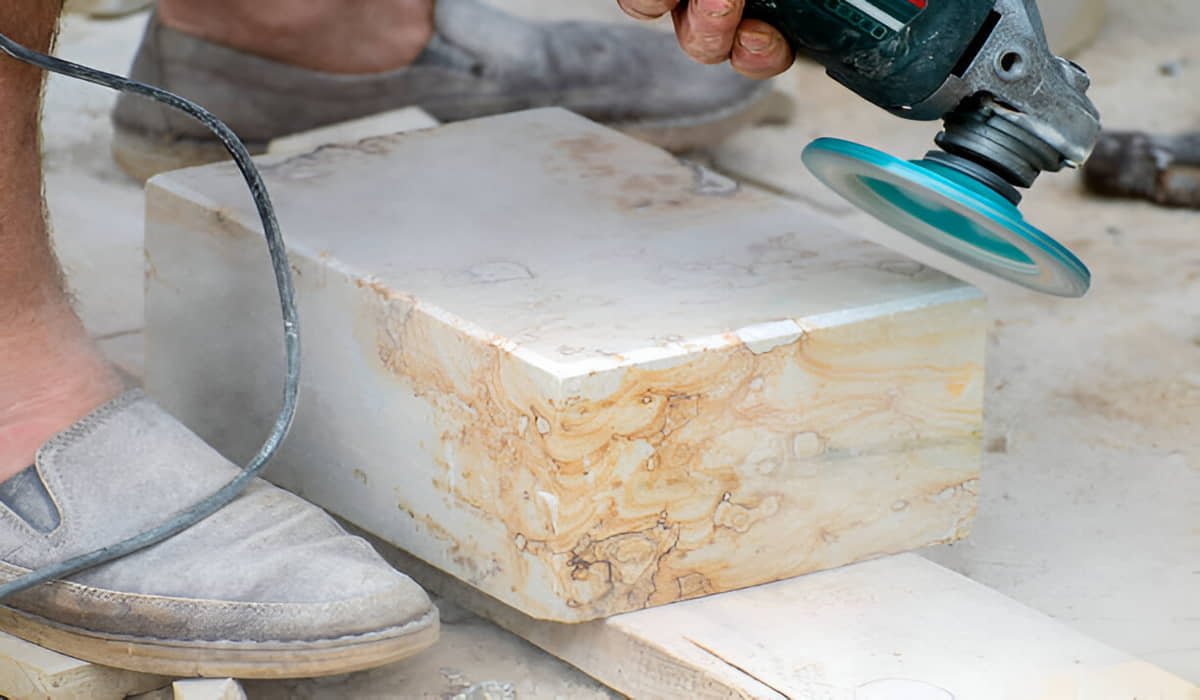
Step 5: Machine Polishing Method
Set orbital sander to lowest speed setting with soft polishing pad attached. High speeds can damage marble surfaces.
Keep the machine moving constantly in overlapping patterns. Staying in one spot creates uneven polishing and potential damage.
Apply light pressure and let the machine do the work. Heavy pressure causes heat buildup that can crack marble.
Step 6: Remove All Residue
Wipe away polishing compound residue with clean, damp microfiber cloths. Change cloths frequently as they become dirty.
Any leftover residue dries white and streaky on marble surfaces. Take time to remove every trace completely.
Check edges, corners, and around sinks where residue commonly hides. These spots are easy to overlook but very noticeable.
Step 7: Final Buffing
Give entire countertop a final buff with clean, dry cloths to maximize shine. Use circular motions followed by straight strokes.
This step brings out the deepest gloss and removes any remaining haze from the polishing process.
Work systematically from one end to the other ensuring no areas get missed during final buffing.
Dealing with Stubborn Stains
Oil stains may need multiple polishing sessions to fade completely. Be patient and repeat the process as needed.
Water spots usually come out easily with proper polishing technique. These surface marks respond well to gentle buffing.
Etching from acids requires more aggressive treatment that might need professional help if home methods fail.
Around Sinks and Faucets
Remove faucet aerators and hardware when possible for complete access. Clean these parts while polishing counters.
Use cotton swabs with polish to reach tight corners and crevices around plumbing fixtures and backsplashes.
Take extra care near undermount sinks where water damage commonly occurs. These areas often need more attention.
Safety Considerations
Wear rubber gloves to protect hands from polishing compounds. Some products can irritate skin with prolonged contact.
Ensure good ventilation while working. Open windows or use fans to circulate air and prevent fume buildup.
Keep pets and children away from work areas. Marble dust and compounds shouldn’t be inhaled or touched.
Time Requirements
Small kitchen counters take 2-3 hours including prep and cleanup time. Don’t rush for best results.
Large island countertops need 4-6 hours of careful work. Plan to spread this over multiple sessions if needed.
Bathroom vanities typically require 1-2 hours due to their smaller size and simpler shapes.
When to Call Professionals
Deep gouges that catch your fingernail won’t improve with home polishing. Professional grinding equipment is needed.
Extensive damage covering most of the surface costs less to repair professionally than attempting multiple DIY sessions.
If your first attempt shows no improvement, stop immediately. Continued work might worsen the damage. Always hire marble polishing contractors, if you don’t have any experience.
Cost Breakdown
Quality marble polishing compound costs $15-30 per bottle. One bottle handles most standard kitchen countertops completely.
Microfiber cloths and cleaning supplies add another $10-20 to project costs. Buy extras since you’ll need clean cloths frequently.
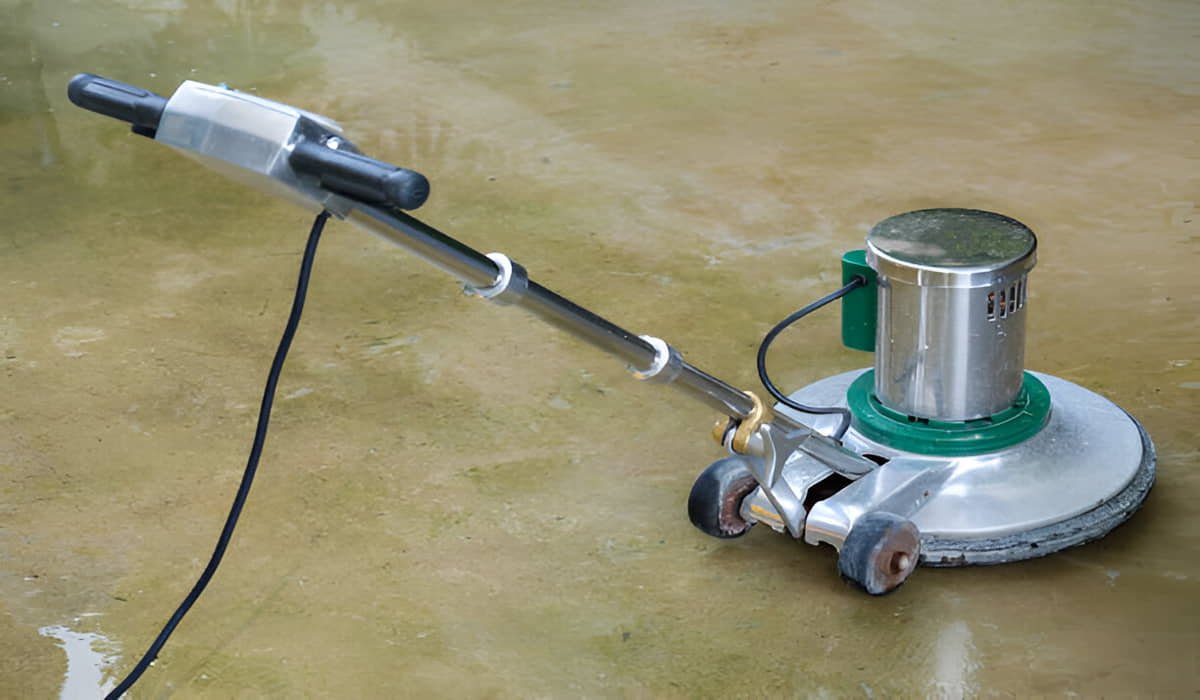
Tool rental for orbital sanders runs $25-40 per day if you choose machine polishing over hand methods.
Protecting Your Investment
Seal countertops after polishing to protect the restored finish. Quality sealers prevent stains and extend polish life.
Use cutting boards and trivets to prevent future scratches and heat damage. Prevention costs less than repair.
Clean spills immediately, especially acidic liquids like lemon juice or wine. Quick action prevents permanent damage.
Maintenance Schedule
Light daily cleaning with pH-neutral products maintains polished surfaces longer. Avoid harsh household cleaners completely.
Polish high-use areas every 6-12 months to maintain optimal appearance. Kitchen islands need more frequent attention.
Professional deep cleaning and polishing every 2-3 years keeps countertops looking their absolute best long-term.
Realistic Expectations
Home polishing removes light scratches and restores moderate shine effectively. Expect 70-80% improvement in most cases.
Very old or severely damaged countertops might need professional restoration first, then home maintenance afterward.
Results vary by marble type and damage severity. Some varieties respond better to DIY treatment than others.
Polishing marble countertops yourself saves money while restoring beauty to your kitchen or bathroom. The process requires patience and proper technique, but most homeowners can achieve excellent results with care and attention.
Remember that prevention through proper use and regular maintenance keeps countertops looking great longer than periodic restoration alone.