Your beautiful marble floors have lost their shine. What once gleamed like a mirror now looks dull and scratched. Don’t worry, marble polishing can bring back that stunning luster you fell in love with.
But how exactly does marble polishing work?
Let’s walk through the entire process so you know what to expect.
What Is Marble Polishing?
Marble polishing is a multi-step restoration process that removes scratches, stains, and dullness from marble surfaces. Professional technicians use specialized equipment and diamond-embedded pads to gradually smooth the stone and restore its natural shine and reflective properties.
Why Marble Loses Its Shine
Before we dive into the polishing process, let’s understand why marble gets dull in the first place.
Daily Wear and Tear
Every footstep creates tiny scratches on your marble surface. Over time, these microscopic scratches build up and make the marble look cloudy instead of shiny.
Acidic Spills
Marble is made of calcium carbonate, which reacts with acids. Spilled lemon juice, wine, or cleaning products can etch the surface and create permanent dull spots.
Wrong Cleaning Products
Many household cleaners are too harsh for marble. Using the wrong products can actually damage the surface and make it lose its polish faster.
Natural Aging
Even with perfect care, marble naturally loses its shine over time. The good news? Professional marble polishing in Dubai can reverse this aging process completely.
Tools and Materials Used in Marble Polishing
Professional marble polishing requires specific equipment that most homeowners don’t have:
Diamond Polishing Pads
These circular pads contain industrial diamonds embedded in resin. They come in different grits, from coarse (for heavy scratches) to ultra-fine (for final polishing).
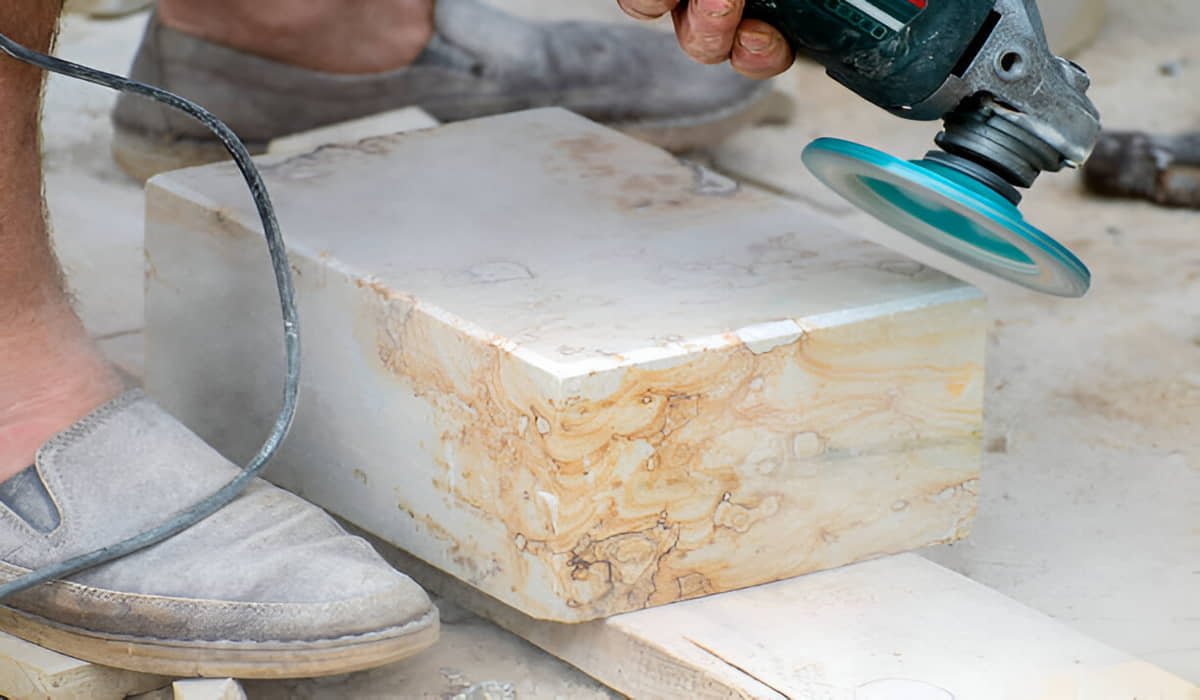
Variable Speed Polishers
Professional-grade machines that can adjust speed based on the polishing stage. Slower speeds for grinding, faster speeds for final polishing.
Marble Polishing Compounds
Special creams and powders that help achieve that mirror-like finish. These compounds fill in tiny scratches and enhance the stone’s natural beauty.
Wet Grinding Systems
Water helps cool the marble during polishing and prevents dust from flying around. It also helps the diamond pads work more effectively.
The Complete Marble Polishing Process
Here’s exactly how professionals restore your marble to its original beauty:
Step 1: Surface Preparation and Cleaning
The first step involves thoroughly cleaning the marble surface. Technicians remove all furniture, sweep away debris, and deep clean the stone with pH-neutral cleaners.
This step is crucial because any dirt or grime left on the surface will interfere with the polishing process.
Step 2: Damage Assessment
Professional technicians inspect every inch of your marble, identifying:
- Deep scratches that need grinding
- Etched areas from acid damage
- Stains that require special treatment
- Cracks that need repair
This assessment determines which polishing steps your marble needs.
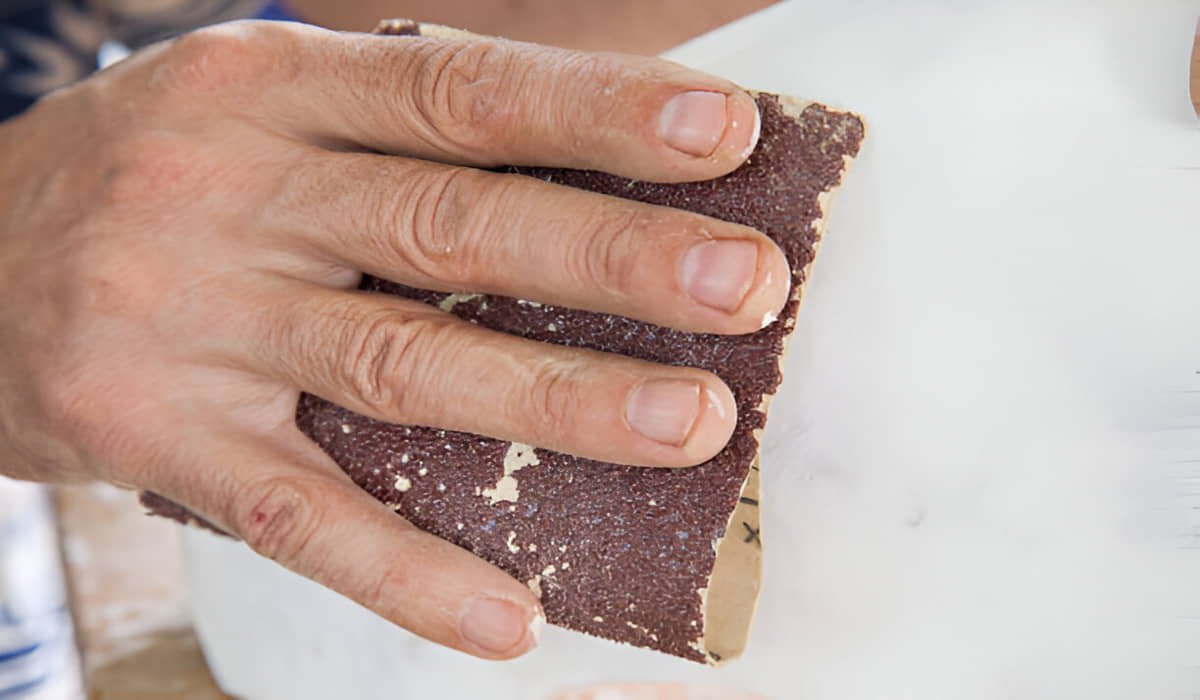
Step 3: Grinding (For Heavily Damaged Marble)
If your marble has deep scratches or severe etching, the process starts with grinding. Technicians use coarse diamond pads (typically 50-100 grit) to remove the damaged layer.
This step literally shaves off a thin layer of marble to reach the undamaged stone underneath. It sounds scary, but professionals remove only what’s necessary – usually less than a millimeter.
Step 4: Honing Process
After grinding (if needed), the honing process begins. This involves progressively finer diamond pads:
- 200-400 grit: Removes grinding marks and major scratches
- 800 grit: Smooths the surface further
- 1500 grit: Creates a smooth, even texture
- 3000 grit: Prepares the surface for polishing
Each grit level removes the scratches from the previous step, gradually making the surface smoother.
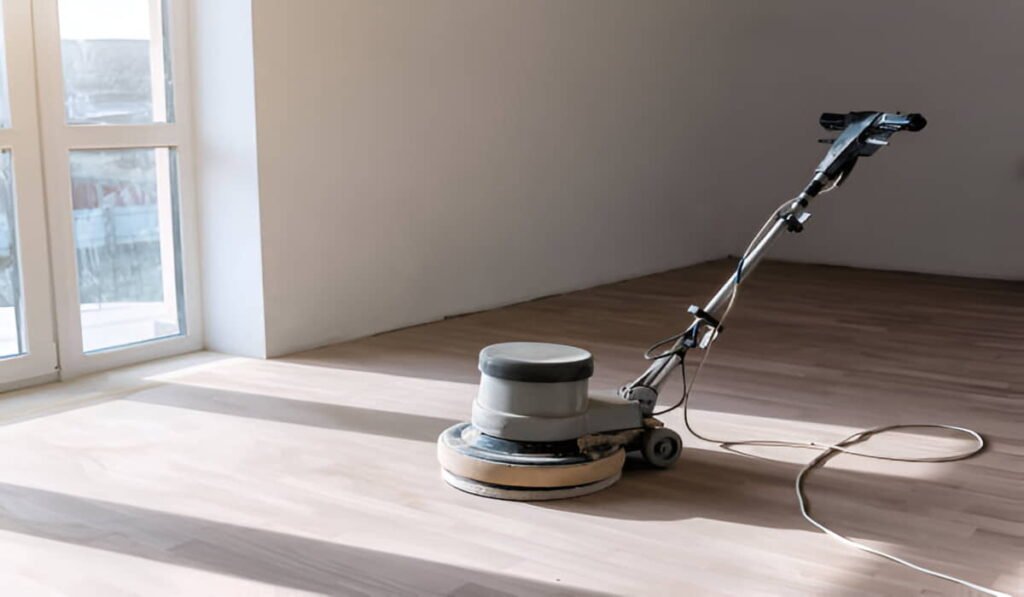
Step 5: Polishing to Restore Shine
Now comes the magic part, bringing back that mirror-like shine. Technicians use ultra-fine diamond pads (8000+ grit) along with marble polishing compounds.
This step doesn’t remove material like the previous steps. Instead, it rearranges the marble’s surface molecules to create that glossy, reflective finish.
Step 6: Sealing (Optional but Recommended)
Many professionals recommend sealing marble after polishing. The sealer penetrates the stone’s pores and provides protection against future stains and etching.
Quality sealers don’t change the marble’s appearance but give you extra time to clean up spills before they cause permanent damage.
Step 7: Final Cleaning and Inspection
The last step involves removing all polishing residue and giving the marble a final clean. Technicians inspect their work to ensure every area meets professional standards.
Different Types of Marble Polishing Finishes
Not all marble polishing creates the same look. Here are the main finish types:
High Gloss Finish
This creates a mirror-like reflection that makes rooms look larger and brighter. It’s the most popular choice for luxury homes and commercial spaces.
Satin Finish
A softer shine that’s less reflective than high gloss. This finish hides minor scratches better and works well in high-traffic areas.
Honed Finish
A matte finish with no shine at all. While not technically “polishing,” this smooth, flat finish is popular in modern designs.
How Long Does Marble Polishing Take?
The timeline depends on several factors:
Small Areas (Bathrooms, Kitchen Islands)
- Simple polishing: 2-4 hours
- Heavy restoration: 4-6 hours
Large Areas (Living Rooms, Lobbies)
- Simple polishing: 1-2 days
- Complete restoration: 2-4 days
Very Damaged Marble
- Extensive grinding and polishing: 3-5 days
Professional marble polishing services in Dubai typically provide accurate time estimates after inspecting your specific situation.
DIY vs Professional Marble Polishing
Why DIY Usually Fails
Many homeowners try polishing marble themselves using rental equipment or store-bought products. Here’s why this rarely works:
- Wrong equipment: Consumer-grade polishers lack the power and precision of professional tools
- Improper technique: Marble polishing requires specific pressure, speed, and pattern knowledge
- Incorrect products: Using the wrong compounds can actually damage your marble further
- No experience: Professionals have years of experience reading marble and knowing exactly what each surface needs
When to Call Professionals
You should always hire professionals for:
- Large areas (over 100 square feet)
- Expensive or antique marble
- Heavily damaged surfaces
- Commercial spaces where appearance matters
Expert marble polishing in Dubai ensures your investment is protected and the results look professional.
Maintaining Your Newly Polished Marble
Once your marble is professionally polished, proper maintenance keeps it looking great longer:
Daily Care
- Sweep or vacuum regularly to remove grit
- Clean spills immediately, especially acidic ones
- Use only pH-neutral marble cleaners
- Place mats at entrances to reduce tracked-in dirt
Weekly Maintenance
- Mop with marble-specific cleaners
- Dry the surface to prevent water spots
- Check for new damage that needs attention
Annual Professional Care
Even with perfect maintenance, marble benefits from professional attention once or twice yearly. This prevents minor issues from becoming major problems.
Cost Factors in Marble Polishing
Several factors affect polishing costs:
Surface Condition
- Light polishing: Least expensive
- Heavy restoration: Most expensive
- Crack repair: Additional cost
Area Size
Larger areas cost more total but less per square foot due to economies of scale.
Marble Type
Some marble types are harder to polish than others, affecting labor time and costs.
Location and Accessibility
Ground floor areas cost less than stairs or hard-to-reach spaces.
Conclusion
Marble polishing is both an art and a science. The process requires skill, experience, and professional equipment to achieve those stunning results you’re looking for.
While the steps might seem straightforward, the reality is that marble polishing requires years of experience to master. Each type of marble responds differently, and knowing how to read the stone and adjust techniques accordingly separates professionals from amateurs.