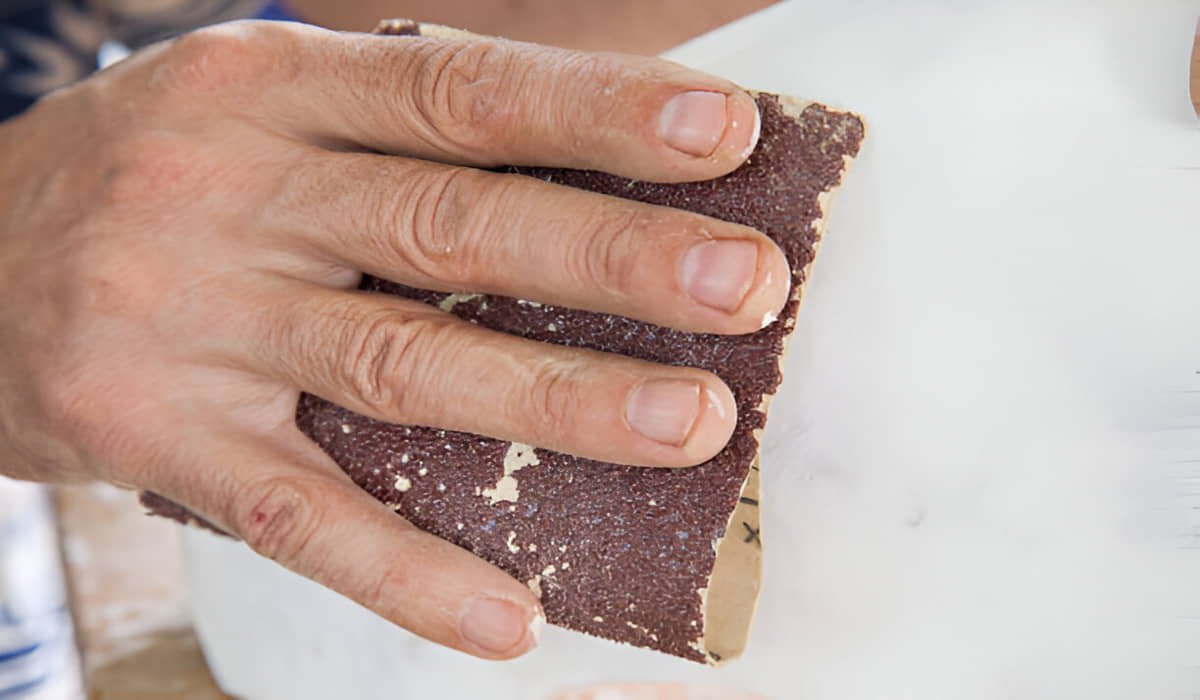
Polishing marble with a Dremel requires diamond bits (220-3000 grit), felt wheels, compound, and patience. Work wet, start coarse, finish fine.
Lets go in detail.
What You’ll Need Before Polishing Marble with Dremel
Essential Tools:
- Dremel rotary tool (any model works)
- Diamond polishing bits (various grits)
- Felt polishing wheels
- Marble polishing compound
- Water spray bottle
- Microfiber cloths
- Safety glasses and dust mask
Grit Progression Matters: Start coarse, finish fine. We recommend 220, 400, 800, 1500, and 3000 grit bits.
Preparing Your Marble Surface
Clean marble shows flaws clearly. Dirty marble hides what needs fixing. Start with a thorough cleaning using pH-neutral stone cleaner.
Remove all soap scum, water spots, and grime. Let the surface dry completely. Any moisture left behind will interfere with polishing.
Check for deep scratches or chips. Mark these spots with painter’s tape. You’ll need extra attention here.
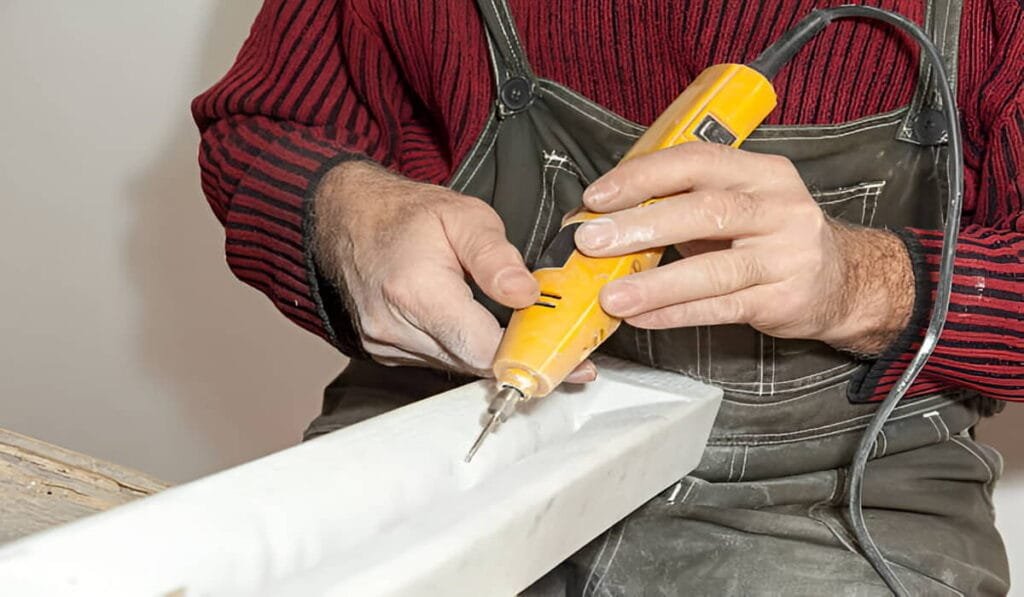
Setting Up Your Dremel
Speed Settings Matter: Low speeds work best for marble. High speeds create heat. Heat can crack or discolor your stone.
Start at speed setting 1 or 2. You can increase slightly if needed. Remember: patience beats power every time.
Bit Selection: Coarsest grit goes first. We’re removing scratches and imperfections. Finer grits smooth and polish.
Secure your bit tightly. A loose bit will wobble and leave marks. Test the setup on a hidden area first.
Step 1: Addressing Deep Scratches
For Heavy Damage: Use 220-grit diamond bits first. Work in small circular motions. Apply gentle pressure and let the Dremel do the work.
Keep the surface wet with your spray bottle. Water prevents overheating and reduces dust. It also helps you see your progress clearly.
Work one small section at a time. About 6 inches square is perfect. Overlap your passes slightly for even coverage.
Step 2: Smoothing the Surface
Move to 400-Grit: This step removes scratches from the coarse grit. You’re creating a uniform surface texture.
Use the same circular motions. Keep everything wet. Check your progress frequently by wiping the area clean.
The marble should start looking less cloudy. You’re on the right track if scratches are disappearing.
Progress to 800-Grit: Here’s where smoothness really begins. The surface should feel different under your fingers. Less rough, more refined.
Continue with light pressure and circular motions. Don’t rush this step. Good preparation makes polishing easier.
Step 3: Fine Polishing
1500-Grit Stage: Now we’re talking business. This grit removes the last visible scratches. Your marble starts showing hints of shine.
Switch to slightly overlapping straight lines instead of circles. This prevents swirl marks. Keep the surface wet throughout.
Clean the area frequently to check progress. You should see your reflection starting to appear.
3000-Grit Final Pass: This is your pre-polish step. The surface should look almost mirror-like already. Any remaining haze will disappear in the final stage.
Use very light pressure.
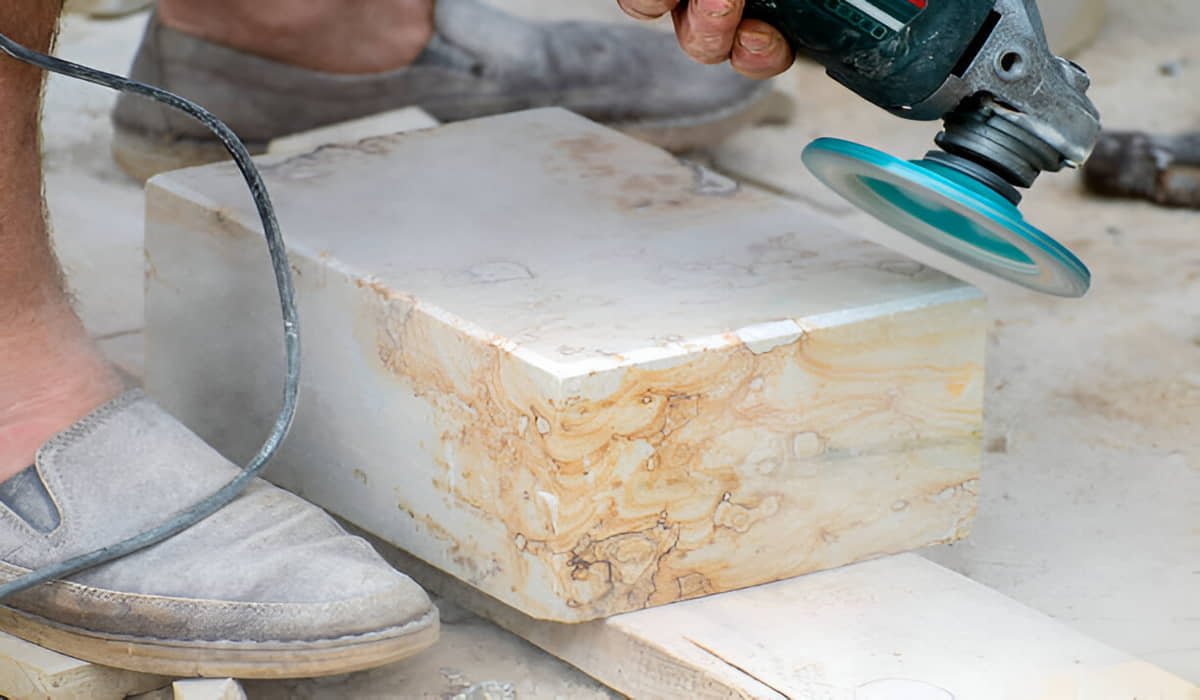
Step 4: Final Polish with Compound
Switch to Felt Wheels: Diamond bits are done. Time for felt polishing wheels. These work with polishing compound to create that mirror finish.
Apply a small amount of marble polishing compound to the felt wheel. A little goes a long way. Too much creates a mess.
Polishing Technique: Work in straight, overlapping passes. Don’t let the compound dry out. Add more as needed.
The marble should start reflecting light like glass. This is the payoff for all your careful work.
Clean residue frequently with a damp microfiber cloth. You want to see your actual progress, not compound buildup.
Common Mistakes to Avoid
Speed Demons Fail: Going too fast ruins everything. Heat builds up quickly. Marble can discolor or even crack from excessive heat.
Skipping Grits Backfires: Each grit removes scratches from the previous one. Skip a step and you’ll have visible scratch lines in your finish.
Dry Polishing Problems: Always keep the surface wet during diamond bit work. Dry polishing creates dust and heat. Both are bad for marble and your lungs.
Troubleshooting Problem Areas
Stubborn Water Spots: Some spots need extra attention. Use 800-grit and work slowly. These calcium deposits can be tough but they will come off.
Uneven Shine: This usually means you rushed through a grit level. Go back to 1500-grit and work the dull areas again.
Swirl Marks: Circular motions in final stages cause this. Switch to straight-line motions with your finest grits and compound.
Maintenance After Polishing
Daily Care: Wipe spills immediately. Use coasters under glasses. Clean with pH-neutral cleaners only.
Weekly Maintenance: Buff with a dry microfiber cloth. This maintains the shine between deep cleans.
Monthly Touch-ups: Check for new scratches or dull spots. Catch problems early with 3000-grit and compound.
When to Call Professionals
Major Damage: Cracks, chips, or severe etching need professional help. Don’t attempt these repairs yourself.
Large Areas: Entire countertops take forever with a Dremel. Consider renting larger polishing equipment.
Valuable Surfaces: Antique or expensive marble deserves professional care. Practice on sample pieces first.
So, always call marble polishing professionals if you dont know about proper cleaning of marble surface.
Final Results You Can Expect
Before vs After: Dull, scratched marble becomes mirror-smooth. Water beads up instead of soaking in. Light reflects clearly across the surface.
Longevity: Properly polished marble stays beautiful for months. Good daily care extends this even longer.
Your Dremel just saved you hundreds of dollars. More importantly, you learned a valuable skill. Next time marble needs attention, you’re ready.
The key is patience and proper technique. Rush the job and results suffer. Take your time and enjoy professional-quality results at home.