Sandpaper can polish marble when used correctly. Start with 220-grit, progress through finer grits up to 3000, keeping surfaces wet throughout. Finish with marble polish for a professional shine.
What You’ll Need Before Starting
Essential Tools:
- Wet sandpaper (grits 220, 400, 800, 1500, 3000)
- Spray bottle with water
- Soft cloths or microfiber towels
- Marble polish or compound
- Protective gloves
- Dust mask
Optional but Helpful:
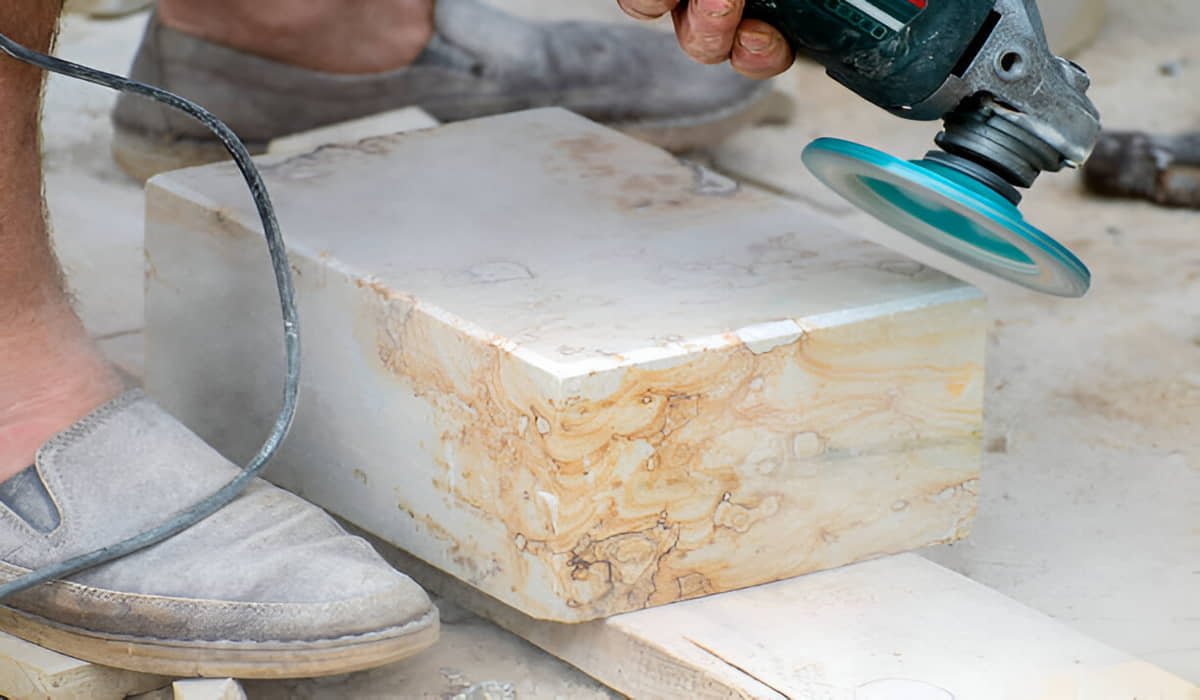
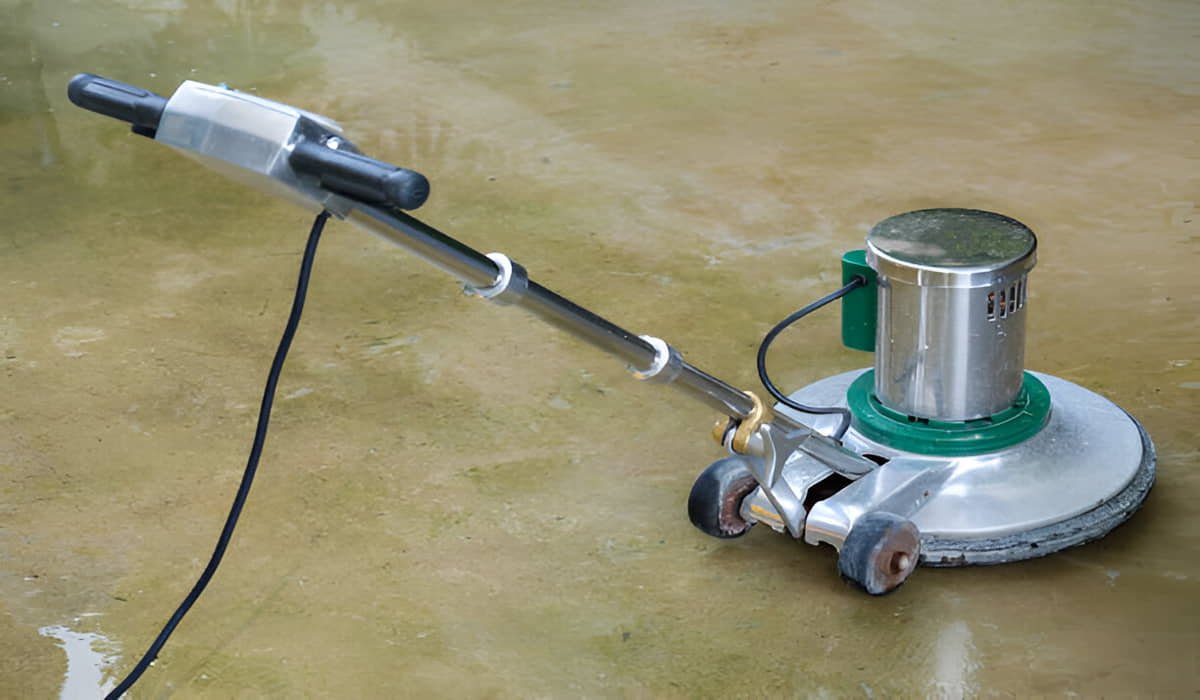
- Orbital sander (for large areas)
- Vacuum cleaner
- Drop cloths to protect surroundings
Can You Really Use Sandpaper on Marble?
Yes, sandpaper works on marble when used correctly. Start with coarser grits (220-400) to remove scratches and imperfections, then progress through finer grits (up to 3000) to create a smooth, polished surface. The key is wet sanding and patience.
Many people think sandpaper will damage marble. That’s only true if you use it wrong. Marble is softer than granite but harder than many think.
Wet sanding prevents heat buildup that could crack the stone. It also washes away debris that might cause new scratches.
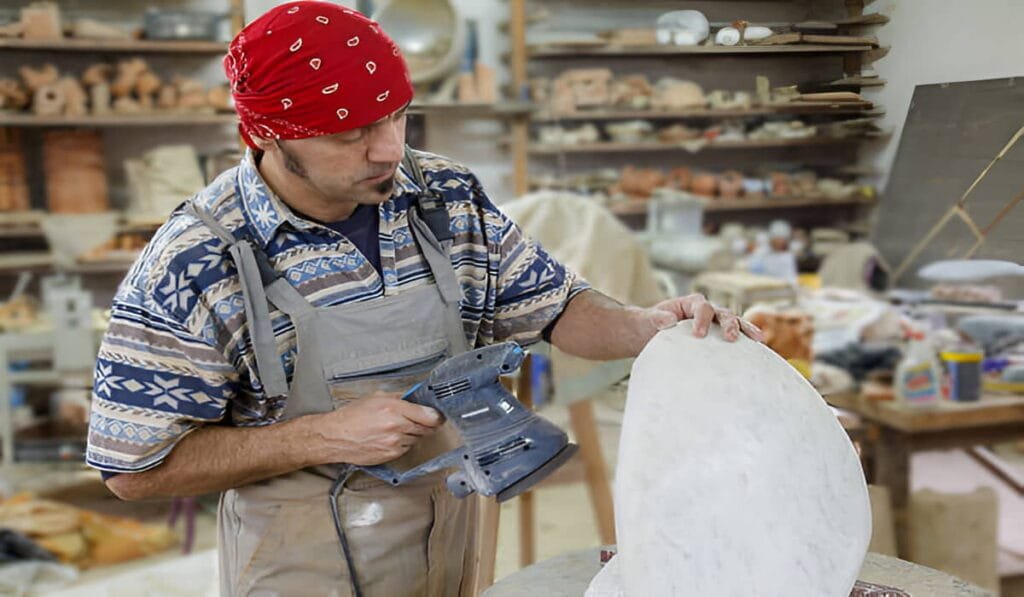
Step-by-Step Marble Polishing Process
Step 1: Clean the Surface Thoroughly
Start with a spotless marble surface. Remove all dirt, grime, and old polish residue. Use warm soapy water and rinse completely.
Any debris left behind will cause scratches during sanding. It’s like trying to paint over rust.
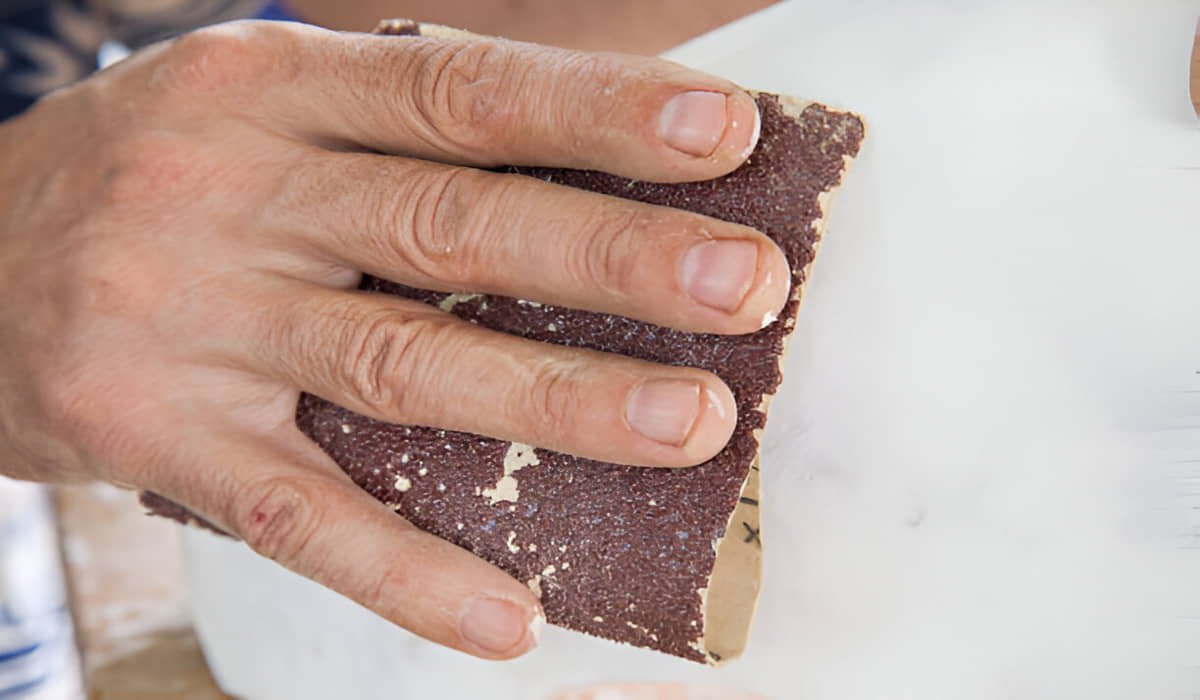
Step 2: Start with 220 Grit Sandpaper
Soak your 220-grit sandpaper in water for 10 minutes. This softens the abrasive and prevents tearing. Keep the surface wet throughout the entire process.
Work in small circular motions. Apply light pressure. Cover the entire area evenly before moving to the next grit.
Step 3: Progress Through Medium Grits (400-800)
Move to 400-grit sandpaper next. Follow the same circular motion pattern. You’ll notice the surface becoming smoother with each grit change.
The 800-grit stage removes the scratches from the 400-grit paper. Keep everything wet and work methodically. Rush this stage and you’ll see scratches in your final finish.
Step 4: Fine Sanding (1500 Grit)
Now we’re getting to the good stuff. The 1500-grit paper starts bringing out the marble’s natural shine. Your surface should feel glass-smooth at this point.
Spend extra time with this grit. It’s preparing the surface for the final polish.
Step 5: Ultra-Fine Finishing (3000 Grit)
The 3000-grit paper creates the pre-polish surface. Work slowly and methodically. You should see a subtle shine starting to appear.
This is where patience pays off. Each pass with ultra-fine sandpaper brings you closer to that showroom finish.
Step 6: Apply Marble Polish
Clean the surface completely with a damp cloth. Let it dry for 15 minutes. Apply marble polish in thin, even coats using circular motions.
Buff immediately with a clean, dry cloth. Work the polish until you achieve the desired shine level.
Common Mistakes to Avoid
Skipping Grits Never jump from coarse to fine sandpaper. Each grit builds on the previous one’s work. Skipping steps leaves visible scratch patterns.
Dry Sanding Dry sanding generates heat that can crack marble. It also creates dust that scratches the surface. Always keep everything wet.
Too Much Pressure Heavy pressure doesn’t work faster, it creates deeper scratches. Let the abrasive do its job with light, consistent pressure.
Ignoring Safety Wear gloves and a dust mask. Marble dust isn’t something you want to breathe. Protect your lungs and skin.
Different Marble Types Need Different Approaches
Soft Marbles (Carrara, Calacatta)
These marbles scratch easily but polish beautifully. Start with 400-grit instead of 220. Work more gently throughout the process.
Use extra water during sanding. These stones absorb moisture and can stain if you’re not careful.
Hard Marbles (Emperador, Crema Marfil)
Harder marbles can handle more aggressive sanding. You might need to start with 180-grit for heavily damaged surfaces.
These stones take longer to polish but hold their shine better. Be patient with the finer grits.
When to Call a Professional
Some situations are beyond DIY fixes. Deep cracks, large chips, or valuable antique pieces need professional attention. Etching from acidic substances might require specialized compounds.
If you’re working on expensive countertops or historical pieces, consider hiring experts. The cost of mistakes outweighs the savings.
You must have to call any professional marble polishing company, this will save your marble from any costly damages.
Maintaining Your Newly Polished Marble
Your hard work deserves protection. Use coasters under glasses and placemats under dishes. Clean spills immediately – especially acidic ones like wine or citrus.
Polish monthly with commercial marble polish. This prevents buildup and keeps that fresh shine. Think of it as waxing your car.
Cost Comparison: DIY vs Professional
DIY polishing costs about $30-50 in materials. Professional marble restoration runs $3-7 per square foot. For a typical bathroom vanity, that’s $150-200 saved.
Time investment is 4-6 hours for beginners. Professionals finish in 2-3 hours but charge premium rates. You decide what your time is worth.
Final Results and Expectations
Properly sanded and polished marble rivals professional results. You’ll see deep reflections and smooth-as-glass surfaces. The natural veining becomes more pronounced and beautiful.
Don’t expect perfection on your first try. Like any skill, marble polishing improves with practice. Start with less visible areas to build confidence.